| Installing the CITS900 on Windows 7 machines | |||
Installing the CITS USB driver on a Windows 7 machine
Install the CITS software on the target computer before connecting the CITS. When the host computer senses the presence of the CITS it should display the Welcome to Found New Hardware Wizard. Follow the instructions in the CITS Installation procedure.
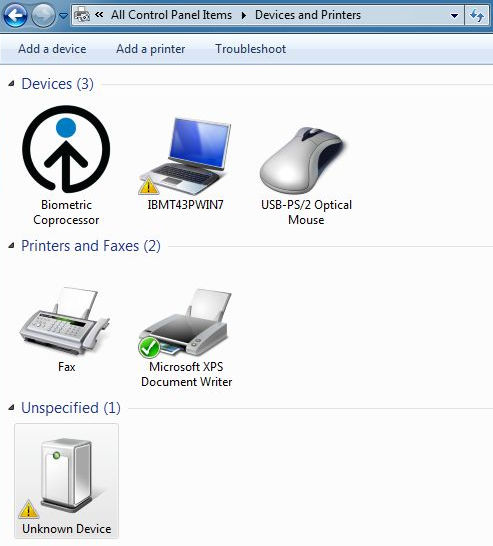
If the computer does not detect the CITS when connected and powered up follow the steps below to install the CITS USB driver. Choose the Windows 7 Control Panel | Devices and Printers - you should see the Unknown Device icon below.
Double click the unknown device to display its properties
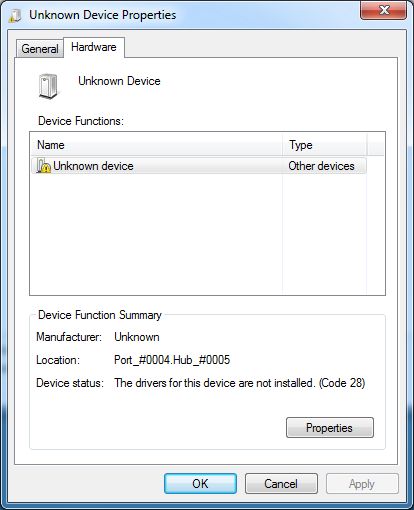
Choose the Hardware tab and click the Properties button
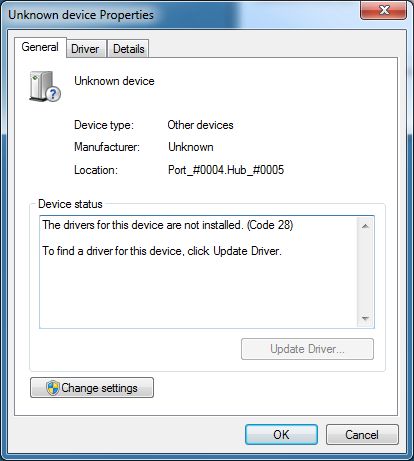
On the General tab click the Change Settings button
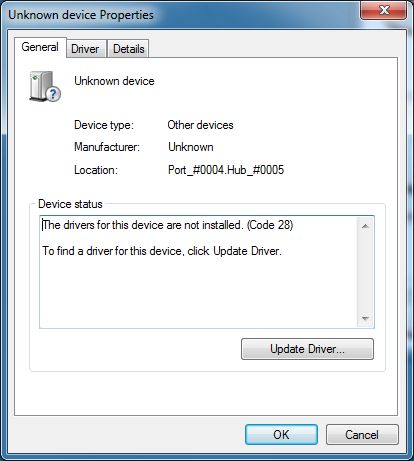
Click the Update Driver... button - the CITS900s USB driver will have been copied to the chosen installation folder
(by default the C:\Program Files\Polar\CITS900s folder.)
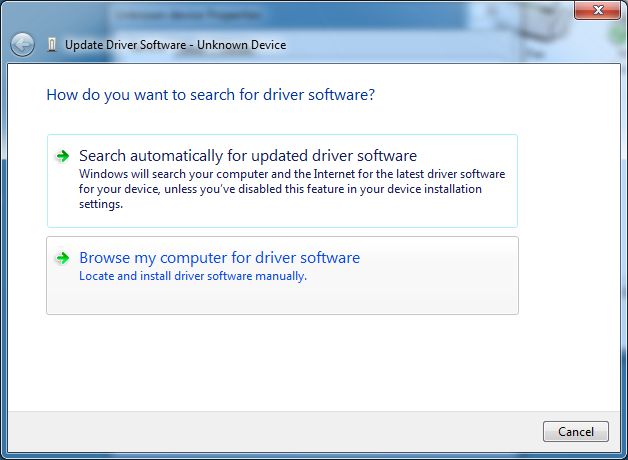
Choose Browse my computer for driver software to install the driver manually
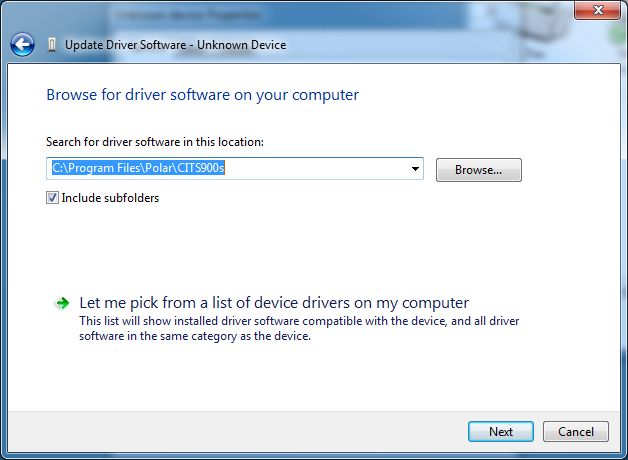
Navigate to the C:\Program Files\Polar\CITS900s folder and select the PolarTDR.inf file.

Choose Install this driver software anyway
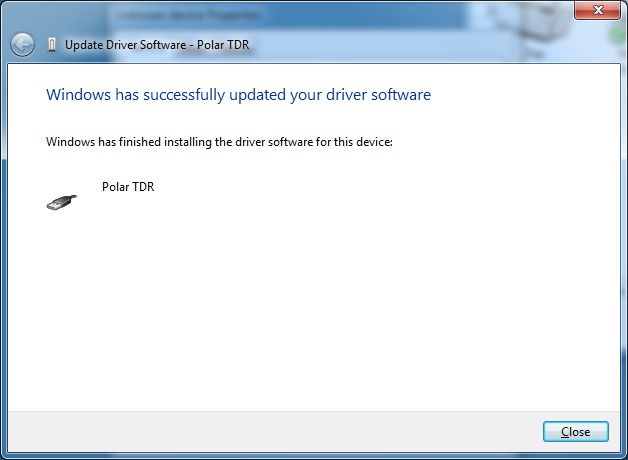
The driver should install and report as Polar TDR
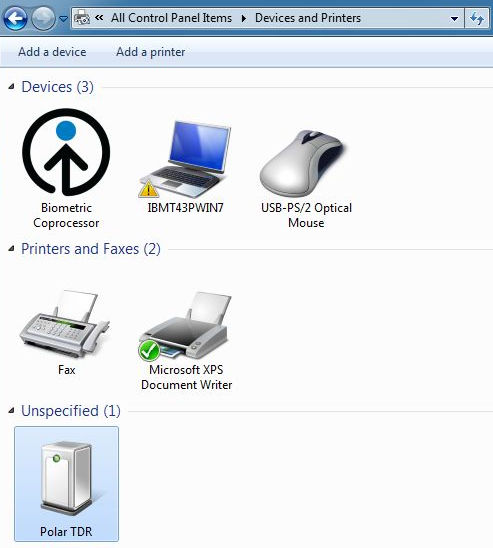
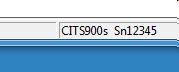
The identified device should be reflected in Devices and Printers and return the CITS900 serial number (below)
To verify communication between CITS and host PC insert a test into the test list and click the Test button.